This year has been brutal thus far in the cryptocurrency markets. Among the bearish developments has been a bunch of centralised entities filing for bankruptcy, the most high-profile of whom was Celsius.
Against this backdrop, the mantra of “not your keys, not your coins” rings truer than ever. As contagion ripples across the industry, there is only one way you can be absolutely sure that your Bitcoin (and other cryptocurrencies) is safe. And that is cold storage – something I warned about the day the UST peg began to slip.
An $18B stablecoin can’t go poof without externalities popping up elsewhere
For e.g, #Bitcoin may be the world’s safest money, but only if you have your keys.
Is your custodial lender definitely not attached to $UST?
Could be more than Terra going under here, this isn’t over
— Dan Ashmore (@DanniiAshmore) May 11, 2022
A few months down the line, we are not out of the woods yet, despite the initial wave of bankruptcies now in the rear mirror – including Celsius, Voyager Digital, Three Arrows Capital.
Today, I write a review of the BitBox02 hardware wallet. Aiming to make it as simple as possible, this will be an objective review of the wallet outlining its pros and cons.
Details and unboxing
Made by Shift Crypto, which is based in Switzerland, the BitBox02 wallet retails for $128. The version I am trying out allows storage of several assets, including Bitcoin, Litecoin, Ethereum and ERC-20 tokens. However, for you Bitcoin maxis out there getting sweaty palms just reading the word “Ethereum”, there is a Bitcoin-only version also produced. It retails for the same price of $128.
In the box are several additives. Firstly, the wallet comes with a USB-C to USB-A adapter, so no issues if your laptop is too old for the now-ubiquitous USB-C slots. It also comes with an extension wire, allowing you to plug the device into your laptop while holding it in your hand, connected to the laptop via the cable. This is far from necessary, but a nice option.
Finally, there is a clasp that allows you to hook your device onto a keyring, belt or whatever else you want. There is also a microSD card in addition to the hardware wallet itself.
Oh, and don’t forget the Bitcoin stickers!
How to use the BitBox02
First, I downloaded the app from https://shiftcrypto.ch/app/.
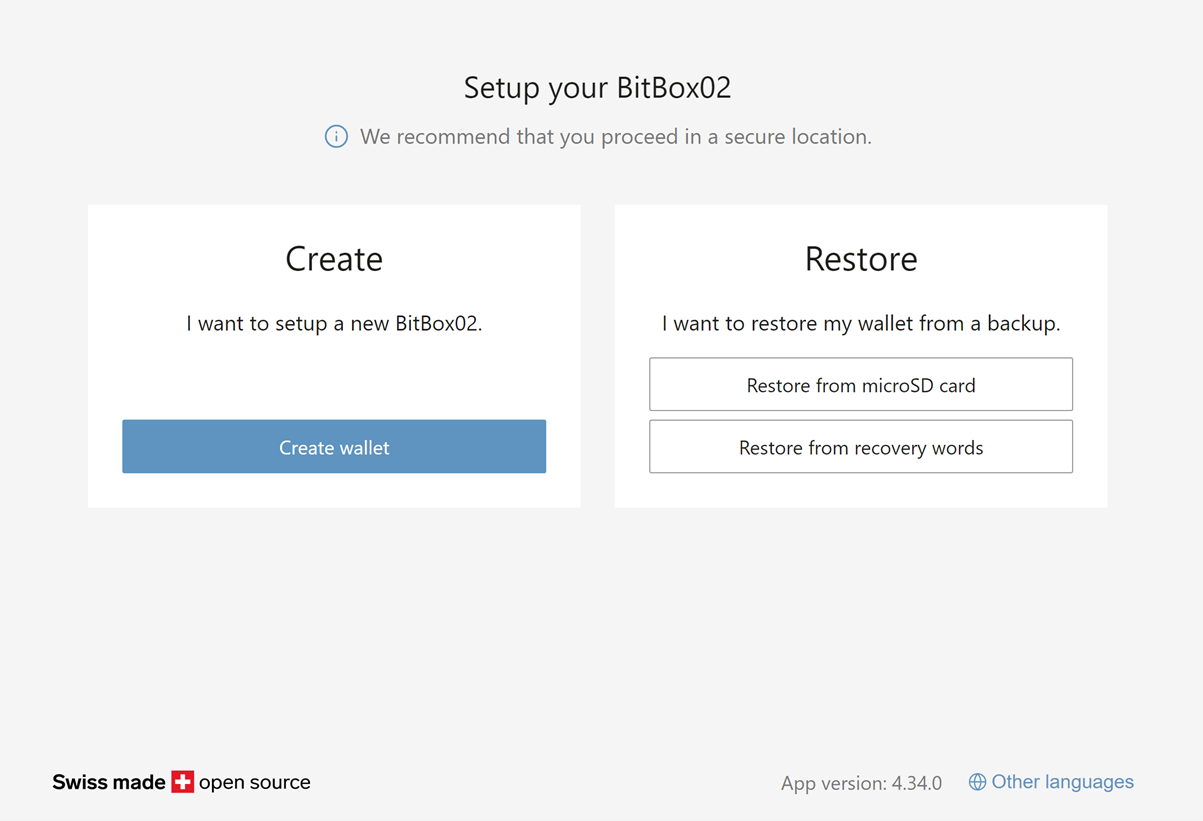
Then, I inputted the microSD backup card into the device. The point of the microSD card is to backup your wallet in case of loss or damage. There is also an excellent but simple feature to set a universal 2FA option, a neat bit of security.
On the app screen, I hit “Install Firmware”. Also, a nice touch – you can hit “flip screen” on and it flips the screen around on the wallet, making it easier to read (I only have a USB-C slot on one side of my laptop). Next, you verify that the code on your BitBox matches the one on your laptop screen.
I hit “Create wallet”.
 I’m required to type in a password. To do this, you use invisible touch sensors on each side of the device. This is a really cool feature, and probably the standout one of the wallet. You can touch, swipe and hold the sensors to carry out all actions on the device. It adds a nice futuristic feel to the whole thing.
In setting the password, it does take a bit of time to work the sensors as you need to click each button several times. So, there was a fair bit of poking around and it’s quite tedious. Nevertheless, the process is intuitive and gets easier once you are used to the settings. Other than the password – which is manageable – the sensors work really well.
Using the device
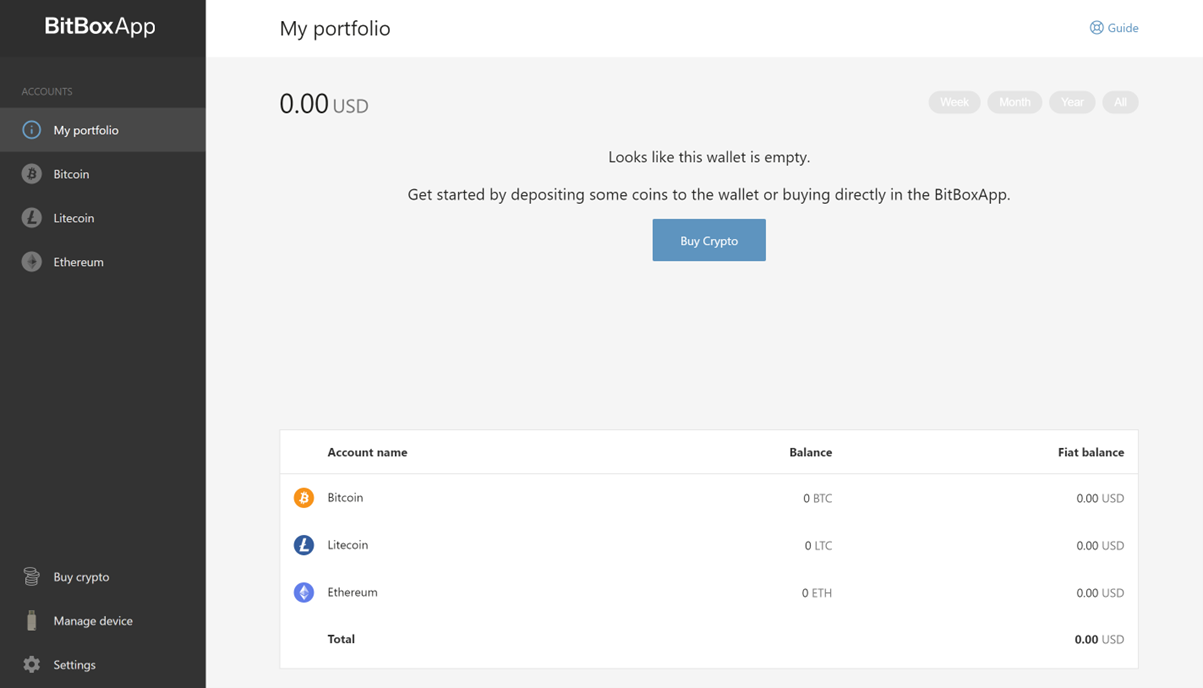
The options on the app are great. I can set a 2FA, manage my backups, see my wallet balances, look at my transactions – all the basics, in other words. It’s minimalistic and easy to navigate, which for a wallet is all I really need – I don’t need my cold storage wallet to have a glistening interface on par with the best-built websites on the Internet.

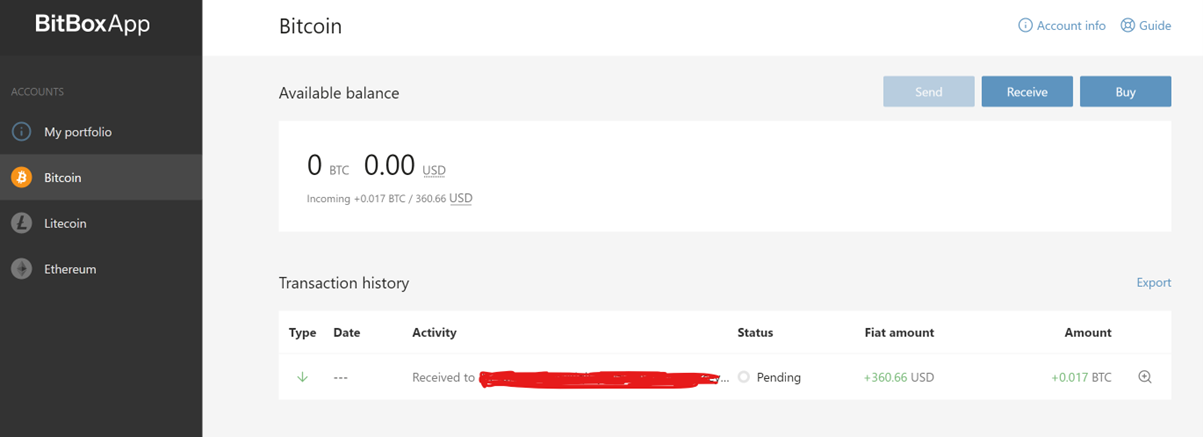
Next, I send some Bitcoin to my the device, scanning the QR code easily on the app. Unfortunately for me, it’s the Bitcoin I had left over from my recent trip to El Salvador – I was perhaps too ambitious with my expectations of how many merchants would accept Bitcoin there – but I can’t really blame BitBox for that, can I? So across goes my $360 in Bitcoin into the hardware wallet.

Once there, I send it back out of the device, just so I can tell my dear readers what it’s like to withdraw, too (the things I do for you!). And well, it’s…easy. There isn’t much to say. You type in the transaction and then via the touch sensors on the device you hold the (invisible) buttons to sign the transaction.
That’s kind of all there is to it.
Pros
- Nice screen makes it very easy to use
- Comes with USB-C, USB-A adaptability
- Comes with a backup memory card
- Excellent 2FA options
- App provides all you need to know to get set up easily, even for crypto noobies
Cons
- Far from a dealbreaker but setting the password is a little tedious on the touch sensors
Verdict
The BitBox02 doesn’t do much, but it does everything it should. It stores your Bitcoin well. It’s simple to set up, even for those with no prior knowledge (I tested this with my friend, who said the start-up guide was excellent).
Signing transactions couldn’t be easier. The backup option in the microSD card (which is totally optional) is great, too. And the 2FA option is something I love.
To wrap things up, at a $128 price point this wallet does exactly what it needs to and I really can’t think of anything to put people off buying it. In the current climate, it’s vital to take ownership of your coins if you intend to hold either for a long period of time or possess a significant quantity. Against the myriad potential downfalls of not storing your coins cold, a $128 investment and 10 minutes of your time to set it up are drops in the ocean.
Sure, if you only hold a small amount or don’t expect to hang on to your crypto long, the safer exchanges are fine. But otherwise, cold storage is just safer, easier and more sensible. The BitBox02 is built for exactly that – and it delivers.
Finally, it’s open-source, which is cool. And shout out to whoever decided to include stickers in the box!


